Easy and Rewarding Orchid Planting: A Beginner’s Guide
Orchids, renowned for their beauty and exotic allure, are beloved by gardeners and flower enthusiasts alike. Although they might appear delicate, planting orchids can be both straightforward and gratifying with the right knowledge. This article presents the fundamental steps to successfully plant an orchid.
Step 1: Select the Ideal Orchid Type Orchids come in various types, each with its own unique care requirements. Before you begin planting, ensure you choose an orchid variety suited for your climate and environment. Common types include Phalaenopsis, Dendrobium, Cattleya, and Oncidium. Research your chosen orchid type to provide the right nurturing.
Step 2: Opt for the Proper Potting Mix Orchids need specialized potting mixes that facilitate drainage and aeration. You can buy orchid potting mix or create your own blend using sphagnum moss, perlite, and bark.
Step 3: Choose a Well-Draining Pot Select a pot with sufficient drainage as orchids dislike stagnant water. Opt for a pot with ample drainage holes, or consider one with openings on the sides to encourage air circulation.
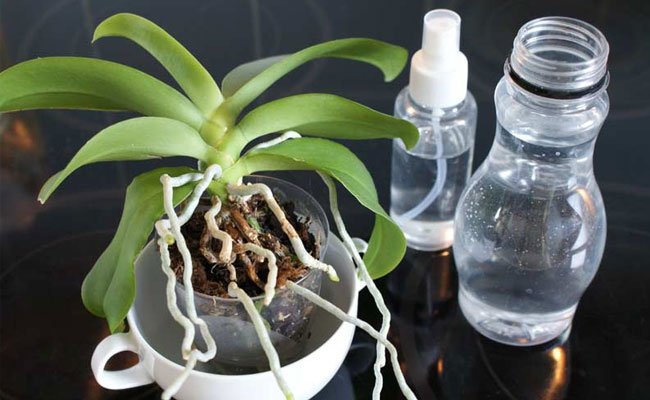
Step 4: Repot Your Orchid Upon acquiring your orchid, it’s advisable to repot it from its original plastic container into a larger, more permanent pot. Gently free the orchid from its plastic home, loosen the roots carefully, remove any damaged portions, and then place the orchid in the new pot, surrounding it with the potting mix.
Step 5: Water and Nourish Your Orchid Appropriate watering is crucial for your orchid’s health. Water thoroughly but allow the plant to dry between waterings. Weekly watering with complete drainage is ideal. Additionally, feed your orchid specialized orchid fertilizer every two weeks.
In conclusion, planting orchids can be straightforward as long as you choose the right type, potting mix, and pot. With proper care, your orchid will flourish, gracing your space with splendid blooms for years to come.

